
No Products in the Cart
How to Dissect an Owl Pellet
Dissecting an owl pellet takes about 30–45 minutes, needs no sharp tools, and works anywhere from a kitchen table to a classroom of thirty. Here is the full process, start to finish.
What you need
- A sterilized owl pellet (one per student, or one per pair for jumbo pellets)
- Two probes or wooden picks, and tweezers
- A sheet of white paper or a tray as your workspace
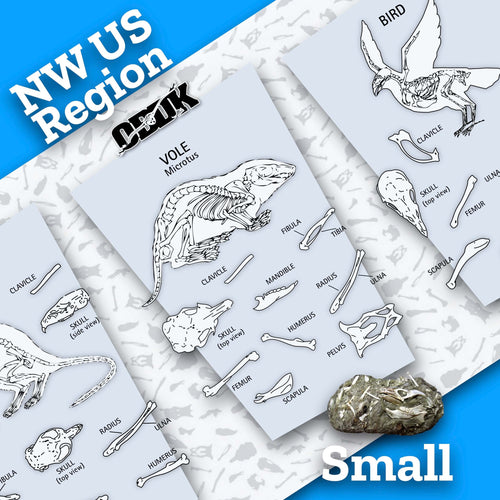
- A bone identification chart
- Optional: gloves, magnifying glass, small cup of water, white glue and cardstock for mounting
Pellets sold for education are heat-sterilized, so they are safe to handle; gloves are a matter of preference. Wash hands when you finish either way.
Step 1 — Observe before you open
Measure the pellet's length and width, note its shape and color, and write down a prediction: how many prey animals do you think are inside? Exterior observation is real data — record it.
Step 2 — Break the pellet into sections
Gently split the pellet into two or three chunks with your fingers or probes. If it is very hard and dry, wrap it in a damp paper towel for a few minutes or dip it briefly in water to soften it.
Step 3 — Tease apart the fur
Work on one chunk at a time. Hold the fur mass with one probe and pull small tufts away with the other, moving slowly. The moment you feel resistance, stop and look — it is usually a bone. Rushing is how skulls get crushed, and an intact skull is the prize of the whole dissection.
Step 4 — Extract and clean the bones
Lift each bone out with tweezers and brush the remaining fur off with your fingers or a dry paintbrush. Set every bone on the white paper as you go, keeping bones from different chunks together if you want to reconstruct individual prey.
Step 5 — Sort and identify
Group the bones by type: skulls, jaws, shoulder blades, limb bones, pelvises, vertebrae, ribs. Then match them against your chart — our Owl Pellet Bone Identification Chart guide explains the features that separate voles, mice, shrews, moles and birds.
Step 6 — Count and record
Count the skulls and pairs of lower jaws to establish the minimum number of prey in your pellet, and record the species you identified. Compare against your prediction from Step 1. In a classroom, pooling everyone's counts turns the lab into a small-mammal population survey.
Step 7 — Mount your finds (optional)
Glue the bones to cardstock or directly onto a printed bone chart in anatomical position. It preserves the work and makes the best kind of science-fair display.
Troubleshooting
- No bones? It happens rarely — owls occasionally produce fur-only pellets. Treat it as a discussion question: why might this pellet be empty?
- Pellet crumbling? It is too dry. Lightly mist it with water and wait a minute.
- Bones stuck together? Soak that section briefly; dried tissue releases in water.
Before you start
- Wondering what a pellet actually is? Read What Is an Owl Pellet?
- Curious how it formed inside the owl? See How Are Owl Pellets Formed?
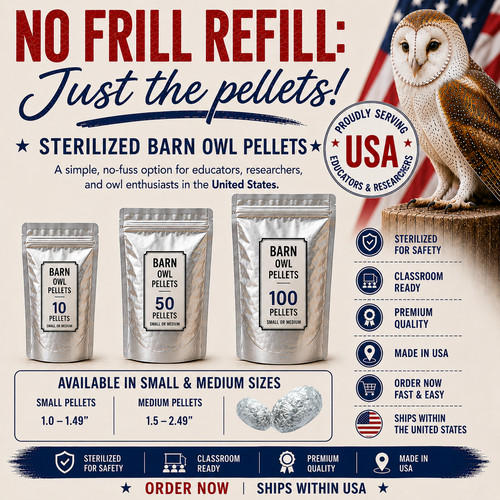
- Need pellets? Browse sterilized barn owl pellets in small, medium and jumbo sizes.